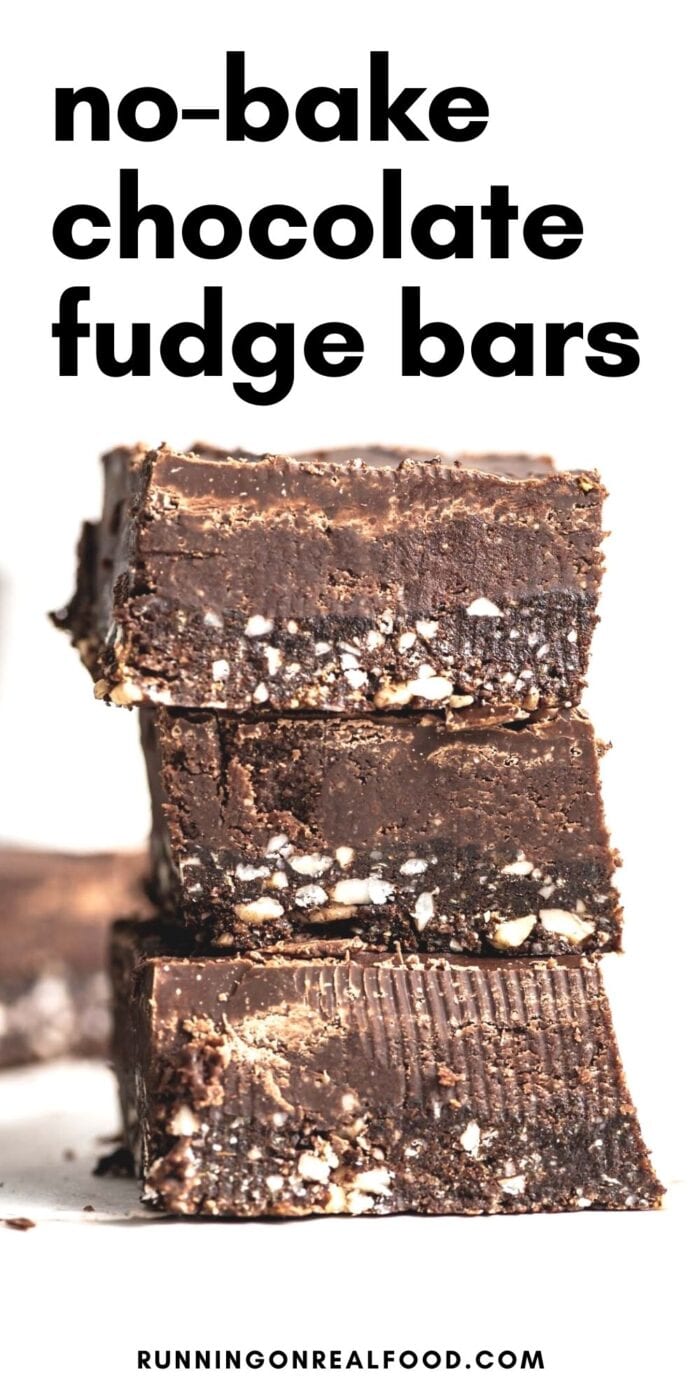
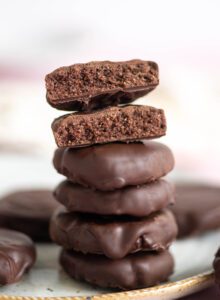
Chocolate Fudge Bars
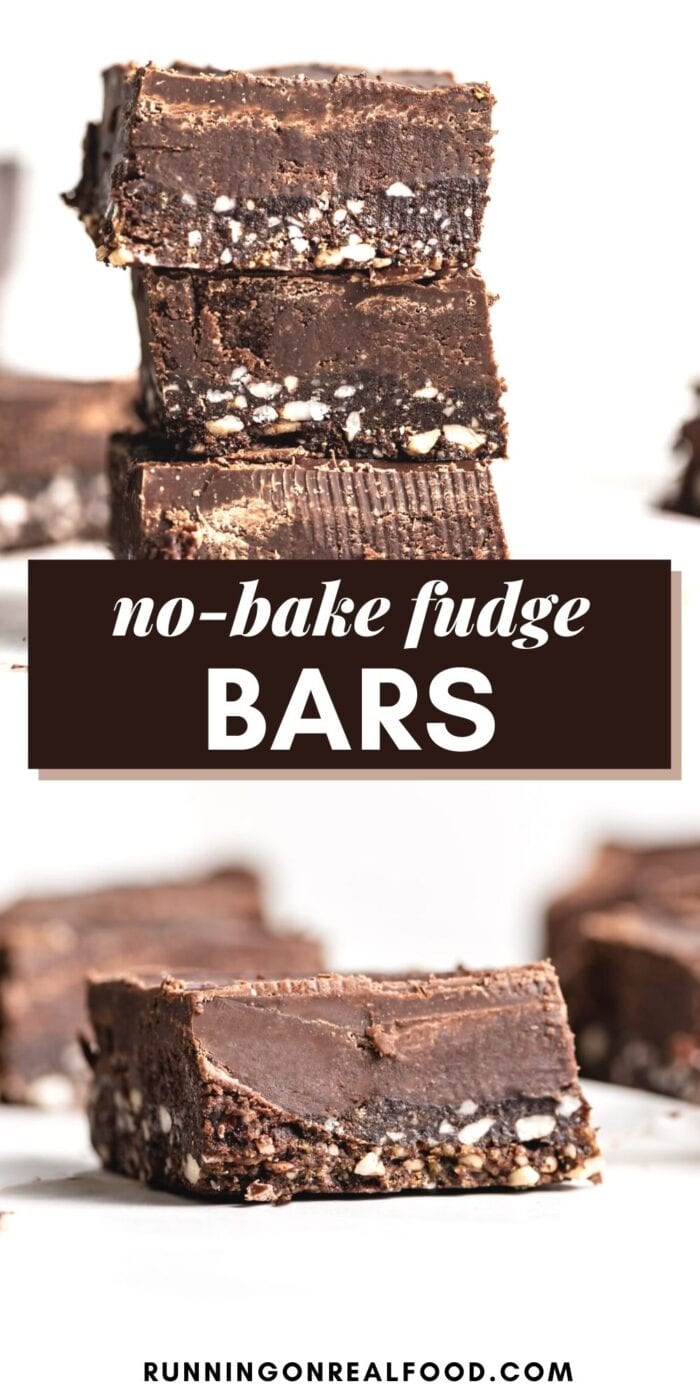
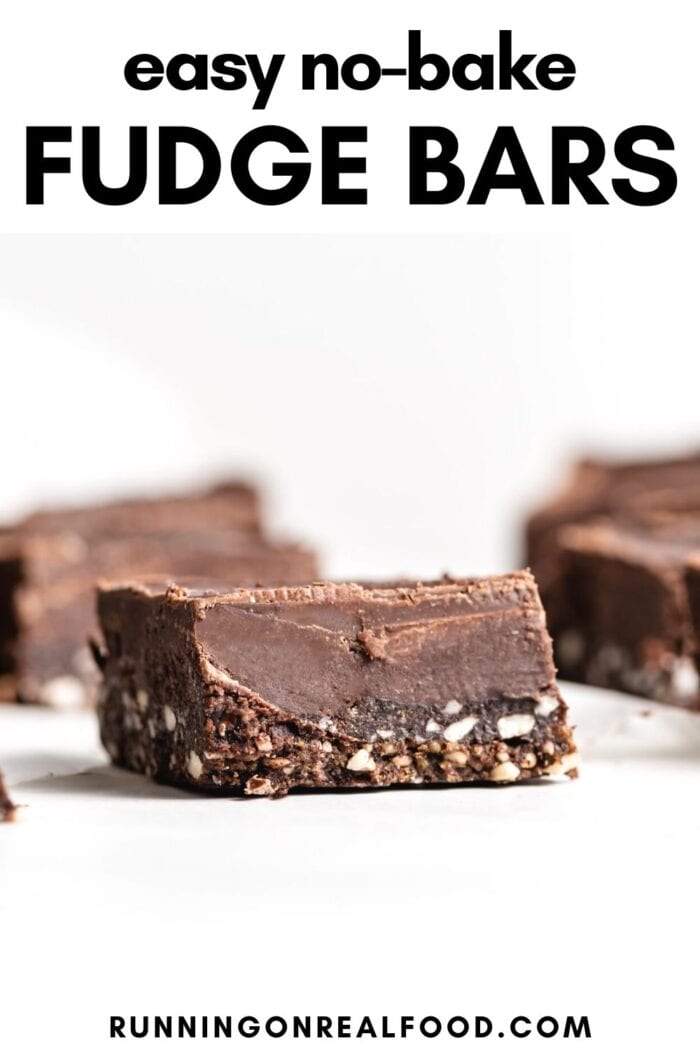
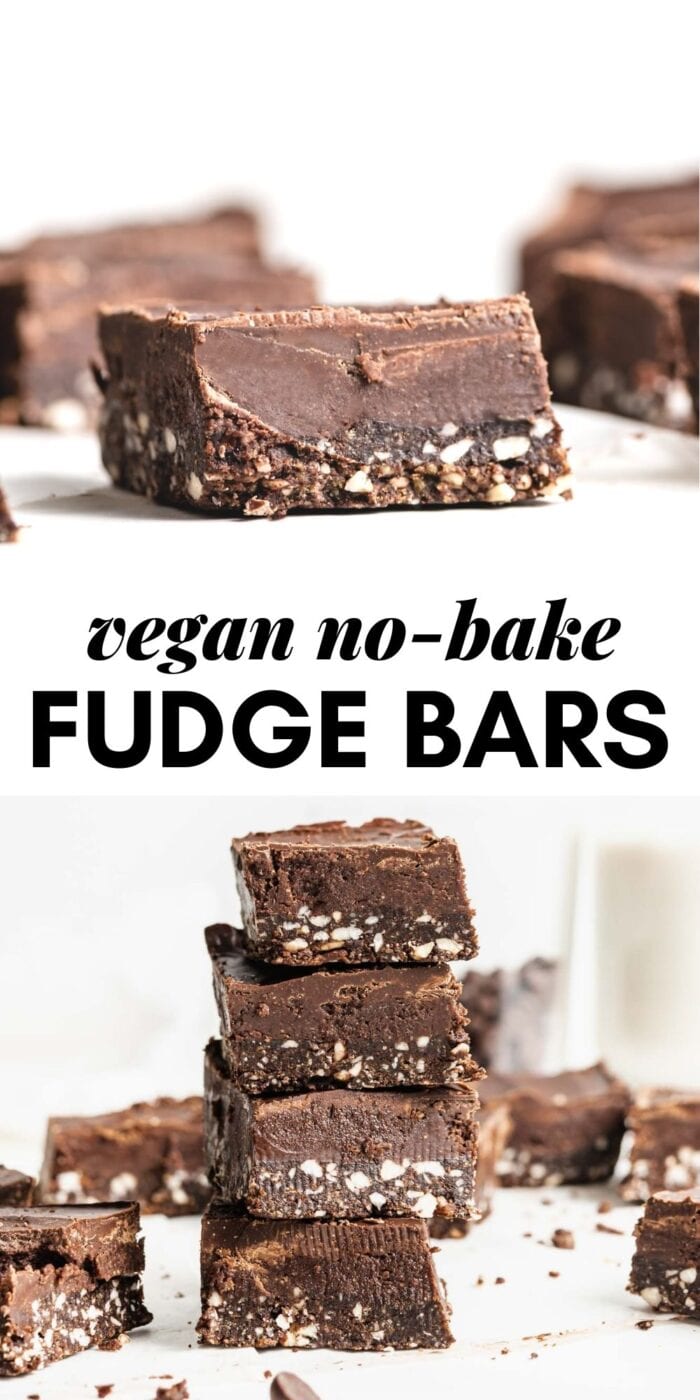
These no-bake chocolate fudge bars are insanely decadent but easy to make with just a few basic ingredients and perfect for a special occasion or everyday dessert.
Recipe Features
- No baking needed! While these bars require a few steps to put together, they’re quite easy to make and there’s no need to turn on your oven.
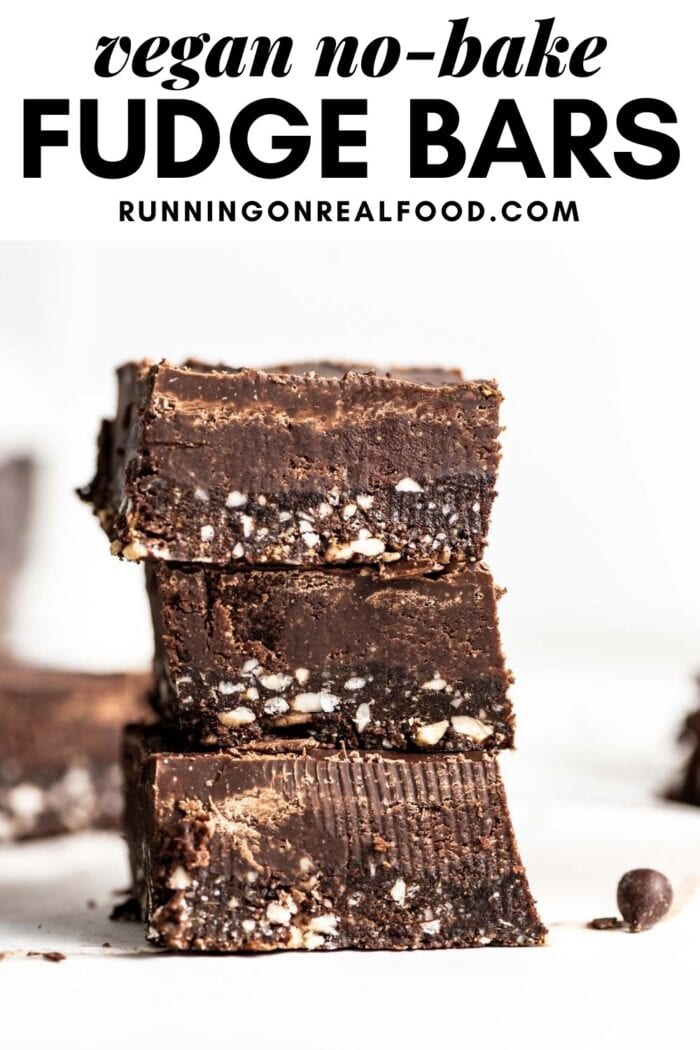
- These bars are vegan and gluten-free. They can be made with less sugar if you use dark chocolate or sugar-free chocolate chips for the topping.
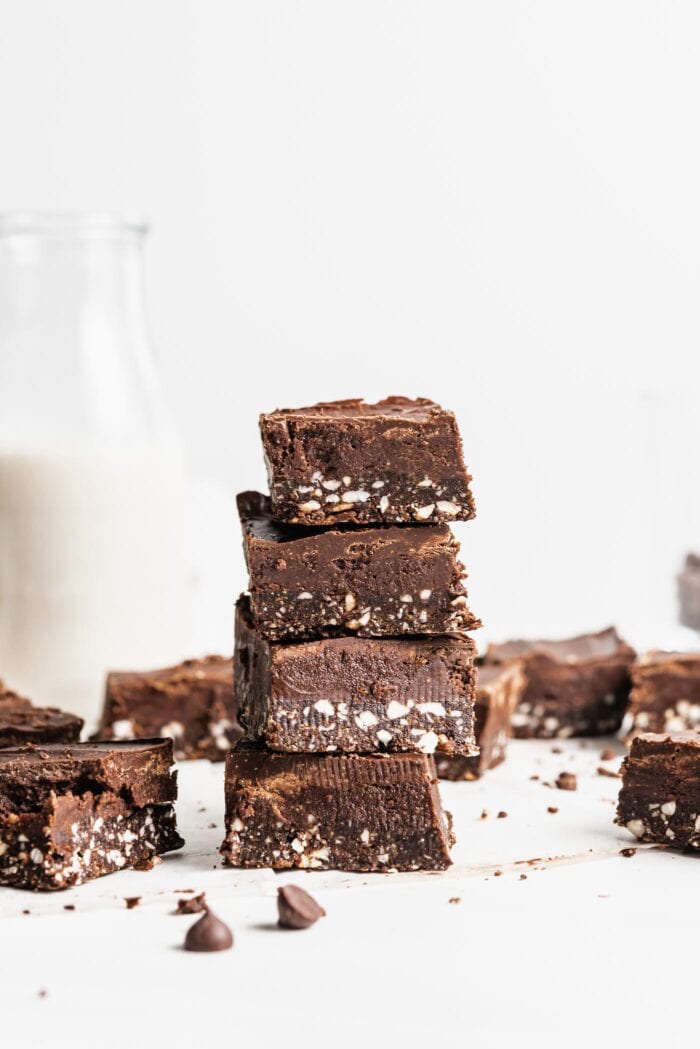
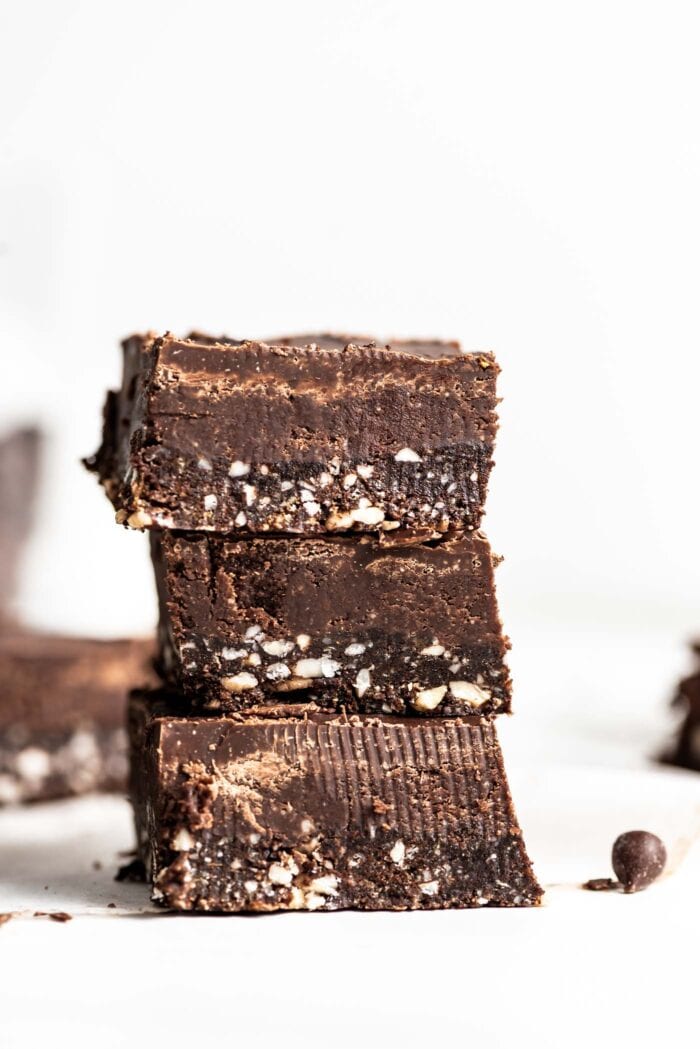
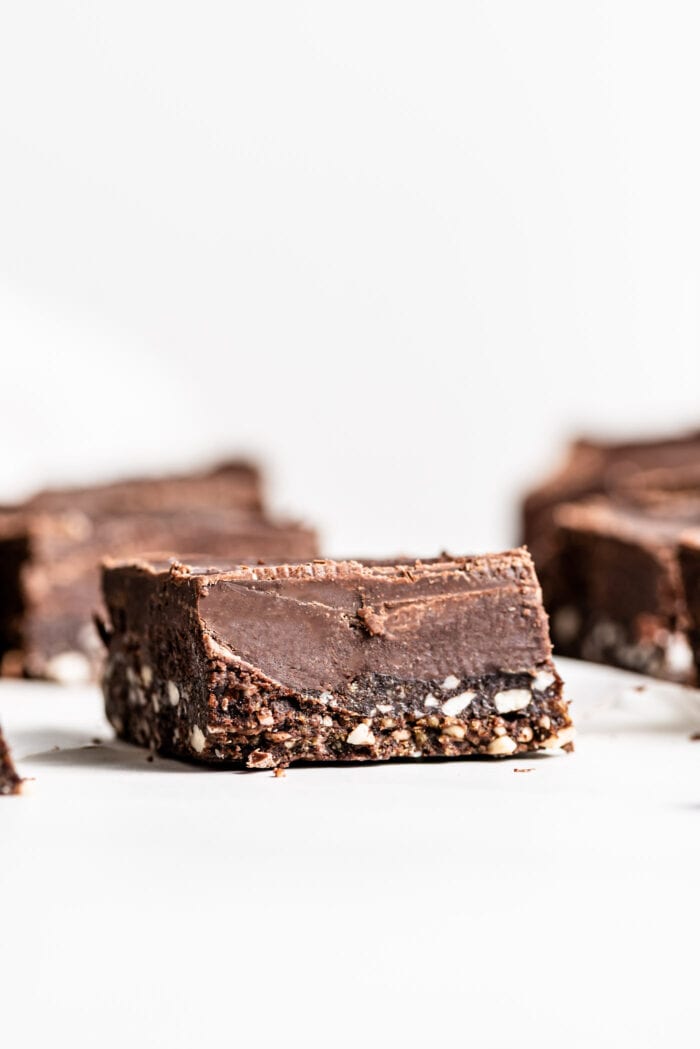
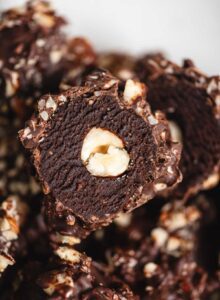
- With an amazing chocolate almond butter fudge filling layered between a brownie crust and chocolate ganache topping, these bars are for the chocolate lovers out there!
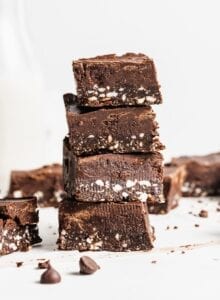
- Try cutting them into 32 mini bars and stashing them in the freezer for a daily sweet treat.
- Decadent enough for special occasions like Easter, Christmas or any other holiday.
Ingredients You’ll Need
Please see the recipe card at the end of the post for the complete ingredient list with measurements and detailed instructions.
- Cashews and Almonds – These two nuts make the base for the brownie crust. We’ve got some flexiblity here though so if you’re missing one of the other, you can use all almonds or all cashews. Walnuts and pecans also work!
- Dates – Any variety works as long as they’re soft and moist. I like medjool and sayer dates best. If you only have very dry dates, you can soak them in hot water for 15 minutes then drain well before use.
- Almond Butter – Use any natural almond butter that doesn’t contain added oil or sugar. Swap for peanut butter for peanut butter fudge bars or use cashew butter, tahini or sunflower seed butter for variations.
- Cocoa Powder – You’ll need this for the base layer and fudge filling. Any variety works. I like dark cocoa powder for the richest chocolate flavour. For extra nutrition, you can also use raw cacao powder.
- Maple Syrup – You’ll need just a bit to sweeten the fudge layer. It can be substituted with agave syrup or honey (not vegan) if needed.
- Coconut Oil – This is needed to firm the chocolate fudge layer. When chilled, coconut oil hardens making it perfect for no-bake desserts. It can’t be omitted or substituted in this recipe but I do have many oil-free desserts if you browse my vegan dessert recipes.
- Chocolate Chips or Dark Chocolate – I like Enjoy Life or Camino dairy-free chocolate chips. You can use mini, regular or dark chocolate chips. If you can’t find dairy-free chocolate chips and want the recipe to be vegan, you can use any good quality dark chocolate bar such as Green & Black’s or Alter Eco.
- Salt and Vanilla – Optional but always good flavour enhancers and you can’t beat chocolate and sea salt!
Step-by-Step Photo Instructions
Before You Start: Line a 7 or 8 inch square baking pan with parchment paper so it sticks out over the sides of the pan. This will allow you to lift the bars out once set.
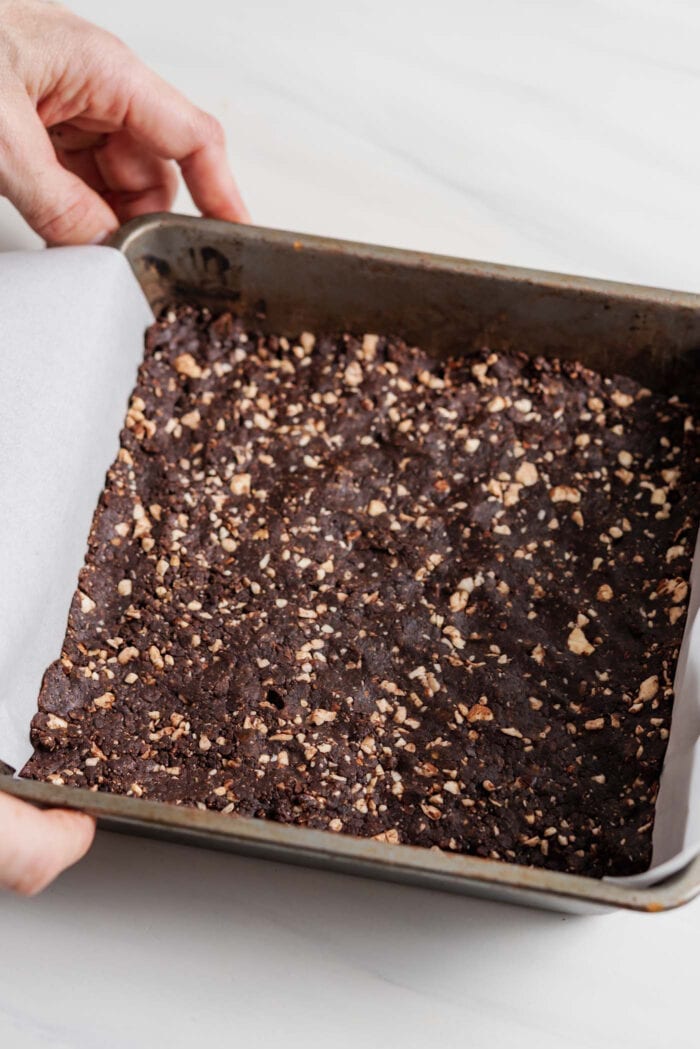
Step 1: Make the crust. Add the cashews, almonds, dates, cocoa powder, vanilla and salt to a food processor and blend into a crumbly but sticky dough.
It should almost be coming together in one big clump as you blend and you should be able to press the dough between your fingers.
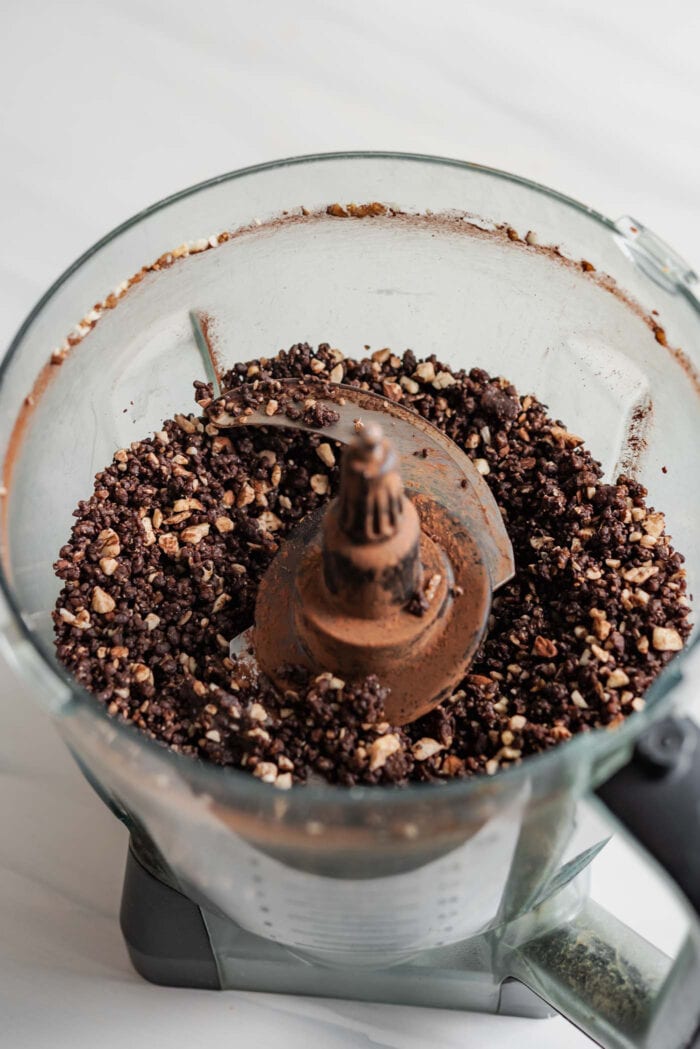
If the dough seems too dry or crumbly, which can happen if your dates were too dry, add 1-2 tbsp warm water and process again. That should do the trick. Firmly press the dough into a the lined baking pan.
Step 2: Make the fudge filling.
Mix the almond butter, cocoa powder, maple syrup and coconut oil together in a bowl until smooth and combined. It will be quite thick.
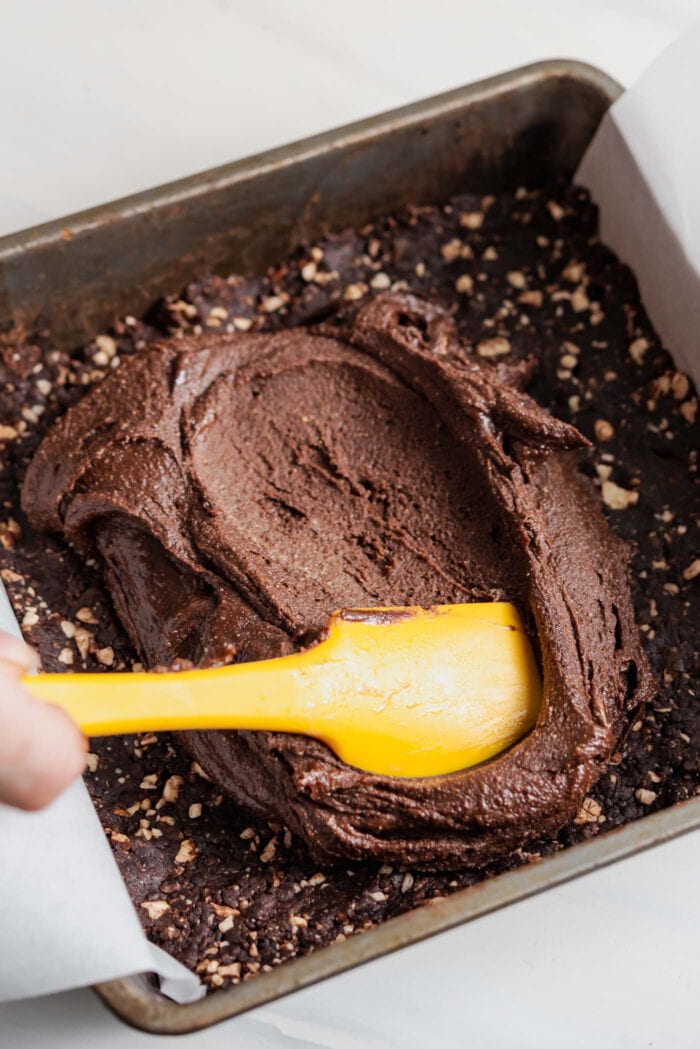
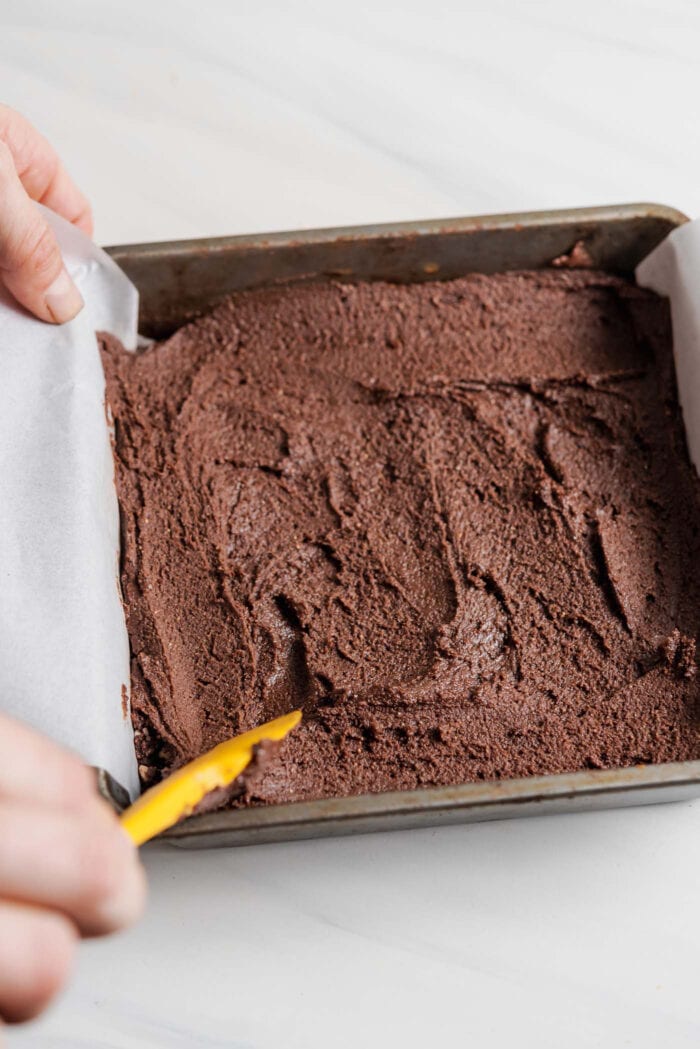
Spread the fudge over the crust layer in the pan until you have a smooth, mostly even layer.
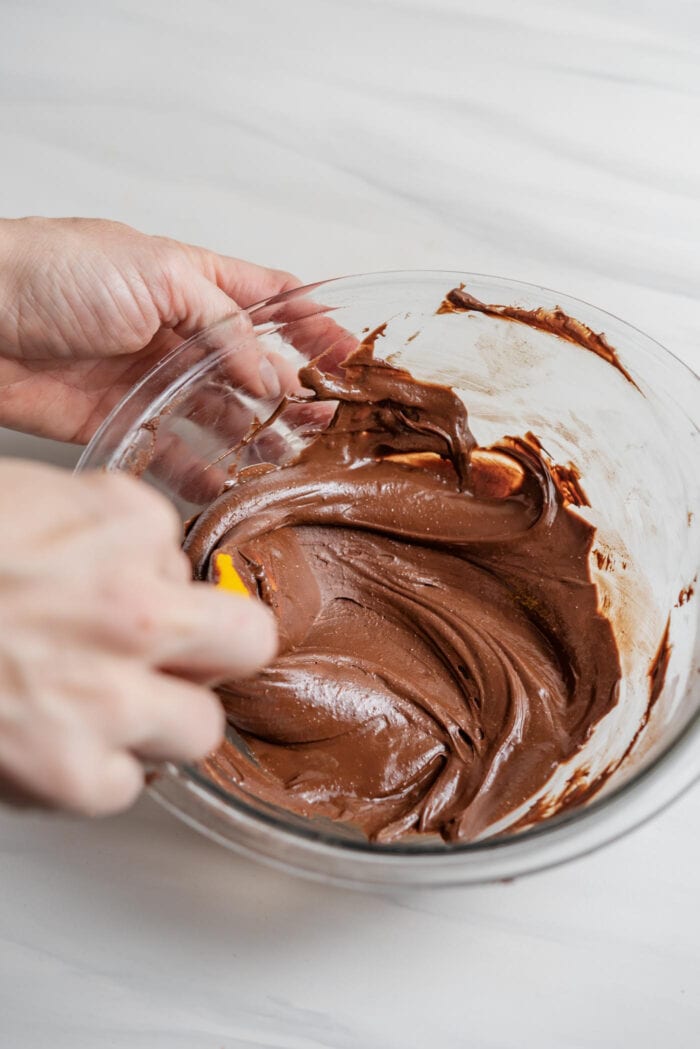
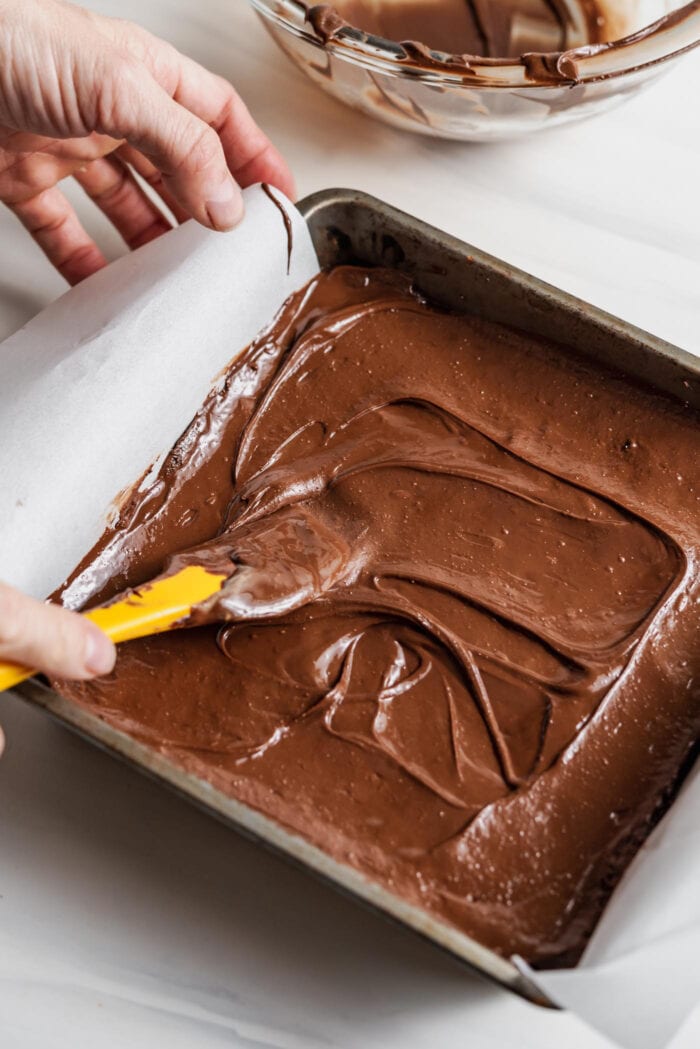
Step 3: Make the chocolate topping.
Melt the chocolate in the microwave in 15-20 second increments or using a double boiler until completely smooth then stir in the the almond butter.
Spread the melted chocolate over the fudge layer in the pan. Place the entire pan in the freezer until the chocolate has hardened, about 20-30 minutes. The fridge is ok too, it will just take longer to set.
Step 4: Slice and enjoy! Once the bars are set, warm a sharp knife under hot water and score the bars by creating lines where you plan to cut. After scoring, slice and enjoy or store in the fridge or freezer.
Quick Tip: I’d suggest slicing them into 16 square if they’re for sharing for a special occasion. If you’re storing them for an everyday sweet treat, I like to cut them into 16 squares then cut them in half to make 32 mini bars. That way you can enjoy a small portion or grab two if you like!

Success Tips
- Dates – It’s important to use soft, moist dates to bind the crust layer. If your dates are too dry, the crust will be too crumbly to press together. If your dates are overly dry, soak them in hot water for 15 minutes then drain well before using in the recipe.
- Nuts – Cashews may be replaced with an additional 1/2 cup of almonds, walnuts or pecans but I really like the cashew pieces in there for some texture!
- Ganache Layer – The almond butter in the chocolate topping helps soften it to make it more like a ganache than hard chocolate. You can skip it or use melted vegan butter or coconut oil to the same effect. If you don’t add a fat source to the chocolate, let the bars soften at room temperature for a bit and use a hot knife to prevent cracking the chocolate when you slice the bars.
Storing
- Whether in the fridge or freezer, keep cool until just before serving as they will become very soft and melted if left at room temperature for too long or it’s warm out.
- Fridge: Store in a sealed container for up to 2 weeks. They’re really good straight from the fridge!
- Freezer: Store in a freezer-safe sealed container or bag for up to 3 months. You can enjoy them straight from the freezer as they don’t freeze solid but I like to let them soften a bit at room temperature before enjoying.
Did you try this recipe? I’d love to hear about it! Scroll down to the comment section to leave a star rating and review.
⭐️⭐️⭐️⭐️⭐️
Chocolate Fudge Bars
- Prep Time: 15 mins
- Cook Time: 30 min
- Total Time: 45 minutes
- Yield: 16
- Category: Dessert
- Cuisine: American
- Diet: Vegan
Description
These ultra-decadent, triple layer chocolate fudge bars that are perfect for special occasions but wholesome enough for everyday too. You’ll love how easy they are to make with just a few basic ingredients and no baking required!
Ingredients
For the Brownie Crust
- 1/2 cup raw cashews (80 g)
- 1/2 cup raw almonds (80 g)
- 1 cup packed, soft pitted dates (220 g)
- 1/4 cup cocoa powder (25 g)
- 1 tsp vanilla extract, optional
- 1/2 tsp sea salt, optional
For the Fudge Layer
- 1 cup almond butter (240 g)
- 1/4 cup cocoa powder (25 g)
- 2 tbsp maple syrup (30 mL)
- 2 tbsp melted coconut oil (30 g)
For the Ganache Topping
- 3/4 cup dairy-free chocolate chips or chopped dark chocolate (140 g)
- 2 tbsp almond butter (30 g)
Instructions
- Line a 7 or 8 inch square baking pan with parchment paper so it sticks out over the sides of the pan. This will allow you to lift the bars out once set.
- Add the cashews, almonds, dates, cocoa powder, vanilla and salt to a food processor and blend into a crumbly but sticky dough. It should almost be coming together in one big clump as you blend and you should be able to press the dough between your fingers. If the dough seems too dry or crumbly, which can happen if your dates were too dry, add 1-2 tbsp warm water and process again. That should do the trick. Use your hands to firmly press the dough into the lined baking pan until smooth and even.
- Mix the almond butter, cocoa powder, maple syrup and coconut oil together in a bowl until smooth and combined. It will be quite thick. Spread the fudge over the crust layer in the pan in an even layer.
- Melt the chocolate in the microwave in 15-20 second increments or using a double boiler until completely smooth, then stir in the the almond butter. Spread the melted chocolate over the fudge layer in the pan using a spatula to evenly spread and smooth as best you can.
- Place the entire pan in the freezer until the chocolate has hardened, about 20-30 minutes. The fridge is ok too, it will just take longer to set.
- Once the bars are set, warm a sharp knife under hot water and score the bars by creating lines where you plan to cut. I’d suggest starting with 16 squares, though I like to slice the 16 squares into 32 mini bars. After scoring, slice and enjoy or store in the fridge or freezer.
Notes
Almond butter can be swapped for any other nut or seed butter. Try peanut butter for peanut butter fudge bars! If you don’t have any cashews on hand, you can substitute them with an additional 1/2 cup of almonds or walnuts or pecans.
It’s important to use soft, moist dates to bind the crust layer. If your dates are too dry, the crust will be too crumbly to press together. If your dates are overly dry, soak them in hot water for 15 minutes then drain well before using in the recipe.
Storing: Whether in the fridge or freezer, keep cool until just before serving as they will become very soft and melted if left at room temperature for too long or it’s warm out. Store in a sealed container in the fridge for up to 2 weeks or freezer for up to 3 months. They’re really good straight from the fridge! You can enjoy them straight from the freezer as they don’t freeze solid but I like to let them soften a bit at room temperature before enjoying.
The almond butter in the chocolate topping helps soften it to make it more like a ganache than hard chocolate. You can skip it or use melted vegan butter or coconut oil to the same effect. If you don’t add a fat source to the chocolate, let the bars soften at room temperature for a bit and use a hot knife to prevent cracking the chocolate when you slice the bars.
Nutrition
- Serving Size: 1
- Calories: 224
- Sugar: 12 g
- Fat: 16 g
- Carbohydrates: 19 g
- Fiber: 4 g
- Protein: 6 g
Keywords: chocolate fudge bars, chocolate almond butter bars, no-bake chocolate bars


Thx for this , looks amazing. Can this be made without nuts for those who can not have nuts? tia
You could maybe try with sunflower seed butter or tahini and sunflower seeds but I haven’t tried it. Let me know if you do!
10/10!! Flavour was spectacular and loved the creamy texture in the middle layer. Thanks for another great recipe!
Okay, these are so freaking good! Seriously. Our fave recipe of yours to date! Thanks for another keeper 🙂
★★★★★
Haha, that’s awesome. I’m so glad you loved them!